VirtualBox
VBoxManage
Установить VirtualBox на сервер не сложно
Переходим https://www.virtualbox.org/wiki/Linux_Downloads
И действуем по инструкции
Полезная статья https://eax.me/vboxmanage/
Из этой статьи взял https://github.com/afiskon/py-vm - упрощает рядовые операции
Еще больше упрощает жизнь bash-autocompletion - https://github.com/gryf/vboxmanage-bash-completion
Я себе заделал алиас alias vbm='vboxmanage'
Чтобы autocompletion работал и с этим алиасом нужно добавить
root@s1 ~ # tail -n 3 /usr/share/bash-completion/vboxmanage
complete -o default -F _VBoxManage VBoxManage
complete -o default -F _VBoxManage vboxmanage
complete -o default -F _VBoxManage vbm # <- нужно добавить такое
Так же для работы vboxmanage требуется установить linux-headers-5.10.0-9-amd64 gcc make perl и выполнить /sbin/vboxconfig
Для облегчения жизни сделал еще вот такое
root@s1 ~ # type vmips
vmips is a function
vmips ()
{
    for vm in `vbm list vms | cut -d'"' -f2`;
    do
        VMMACAddr="`vbm showvminfo $vm | grep -oP "MAC: .*?," | cut -d' ' -f2 | cut -d',' -f1`";
        vboxmanage dhcpserver findlease --mac-address $VMMACAddr --network NatNetwork | grep 'IP' | sed "s/IP Address:/${vm}:\t/g";
    done
}
Позволяет вывести список машин и их айпишники
root@s1 ~ # vmips
template:  10.0.5.10
pgsql-edu:  10.0.5.8
list vms покажет тачки
Опция --long даст значительно более подробный вывод
root@s1 ~ # vbm list vms | wc -l
1
root@s1 ~ # vbm list vms --long | wc -l
116
Создаем машину
# vbm createvm --name test-debian-11 --ostype Debian_64 --register
Создаем для нее жесткий диск
# vbm createmedium disk --filename /root/virtualboxvms/test-debian-11/test-debian-11.vdi --size 20000
Добавляем на машину sata контроллер и прикручиваем через него созданный жесткий диск
# vbm storagectl test-debian-11 --name sata-controller --add sata --controller IntelAHCI
# vbm storageattach test-debian-11 --storagectl sata-controller --port 0 --device 0 --type hdd --medium /root/virtualboxvms/test-debian-11/test-debian-11.vdi
Аналогично поступаем с dvd контроллером и образом установочного диска
# vbm storagectl test-debian-11 --name ide-controller --add ide --controller PIIX4
# vbm storageattach test-debian-11 --storagectl ide-controller --port 1 --device 0 --type dvddrive --medium /root/virtualboxvms/debian-11.2.0-amd64-netinst.iso
Включаем rdp
# vbm modifyvm test-debian-11 --vrde on
Находим extpack под нашу версию (версию можно узнать так vbm --version)
https://www.virtualbox.org/wiki/Download_Old_Builds
# wget https://download.virtualbox.org/virtualbox/6.1.28/Oracle_VM_VirtualBox_Extension_Pack-6.1.28.vbox-extpack
# vbm extpack install Oracle_VM_VirtualBox_Extension_Pack-6.1.28.vbox-extpack
# vbm list extpacks
Extension Packs: 1
Pack no. 0:   Oracle VM VirtualBox Extension Pack
Version:      6.1.28
Revision:     147628
Edition:
Description:  Oracle Cloud Infrastructure integration, USB 2.0 and USB 3.0 Host Controller, Host Webcam, VirtualBox RDP, PXE ROM, Disk Encryption, NVMe.
VRDE Module:  VBoxVRDP
Usable:       true
Why unusable:
Запускаем машину (headless тк запускаем без графики)
# vbm startvm test-debian-11 --type headless
Waiting for VM "test-debian-11" to power on...
VM "test-debian-11" has been successfully started.
Дальше можно подключиться через какой-нибудь rdp клиент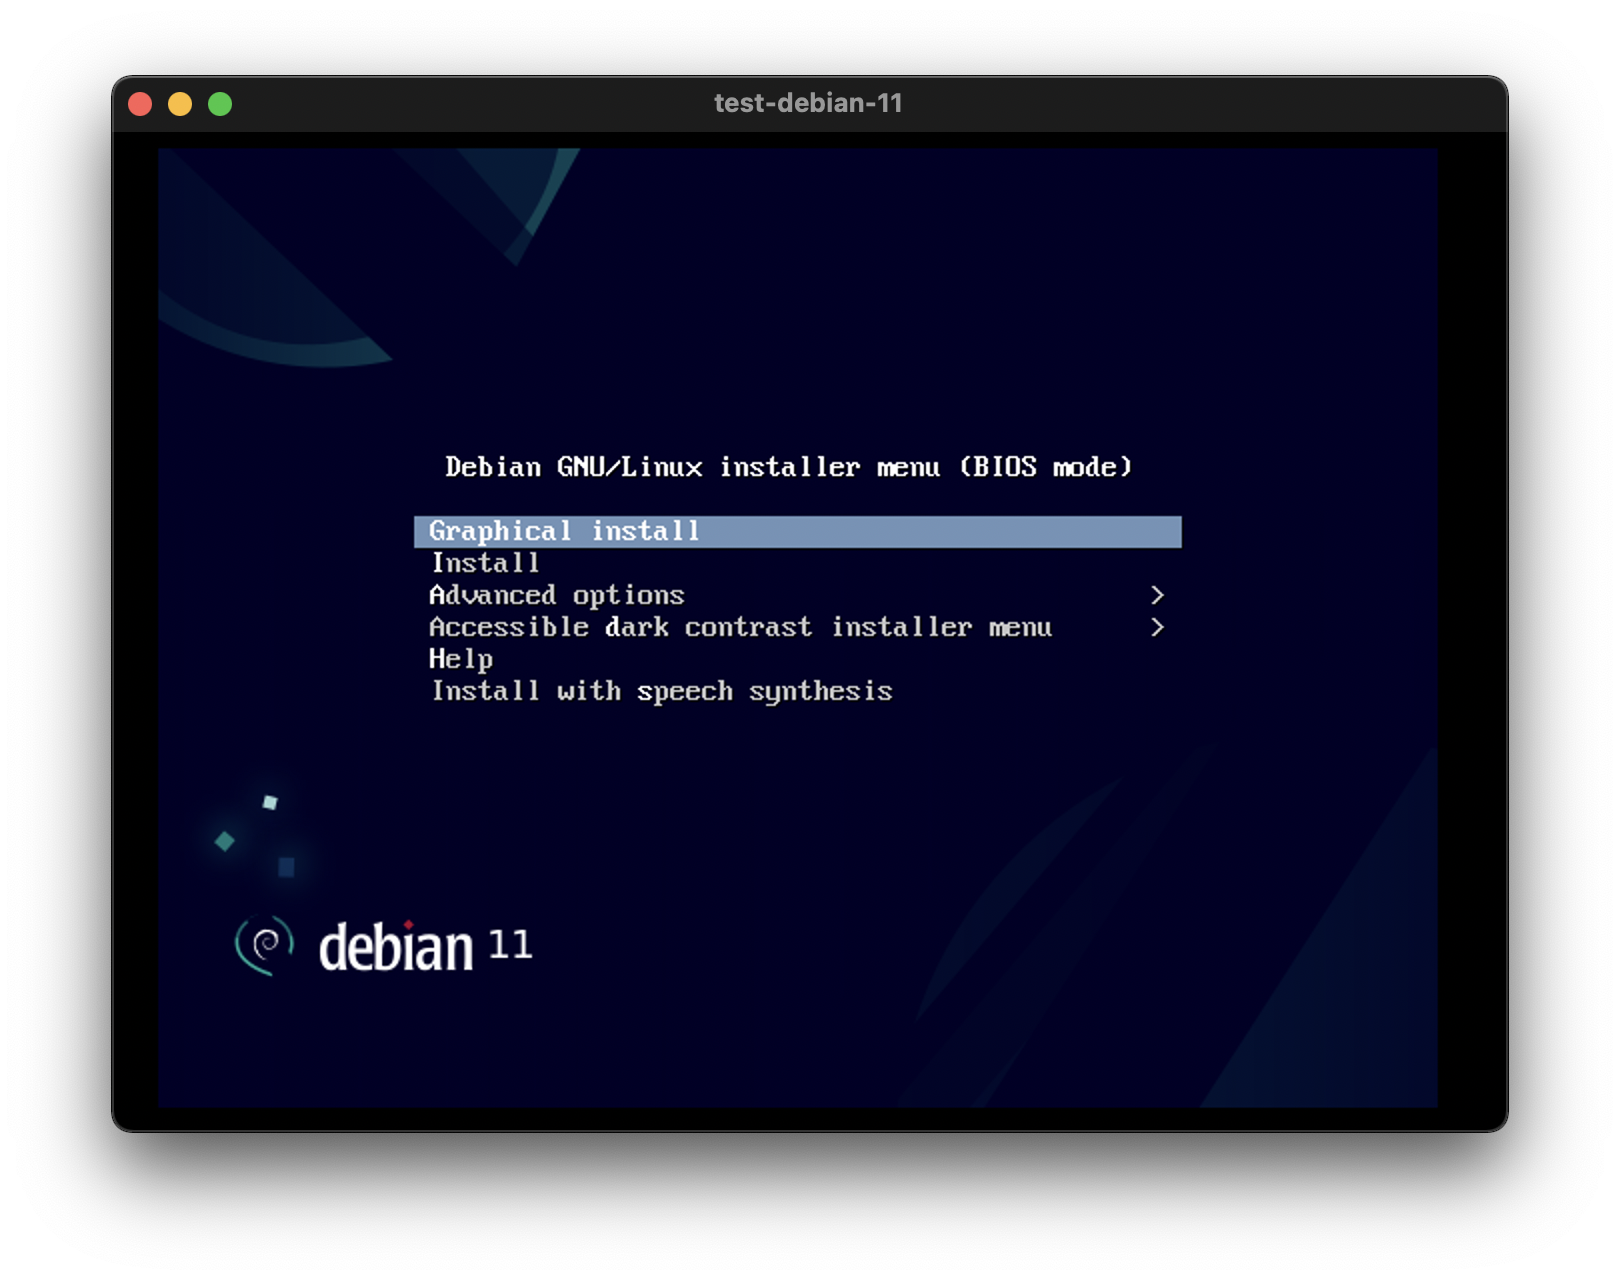
И получить kernel panic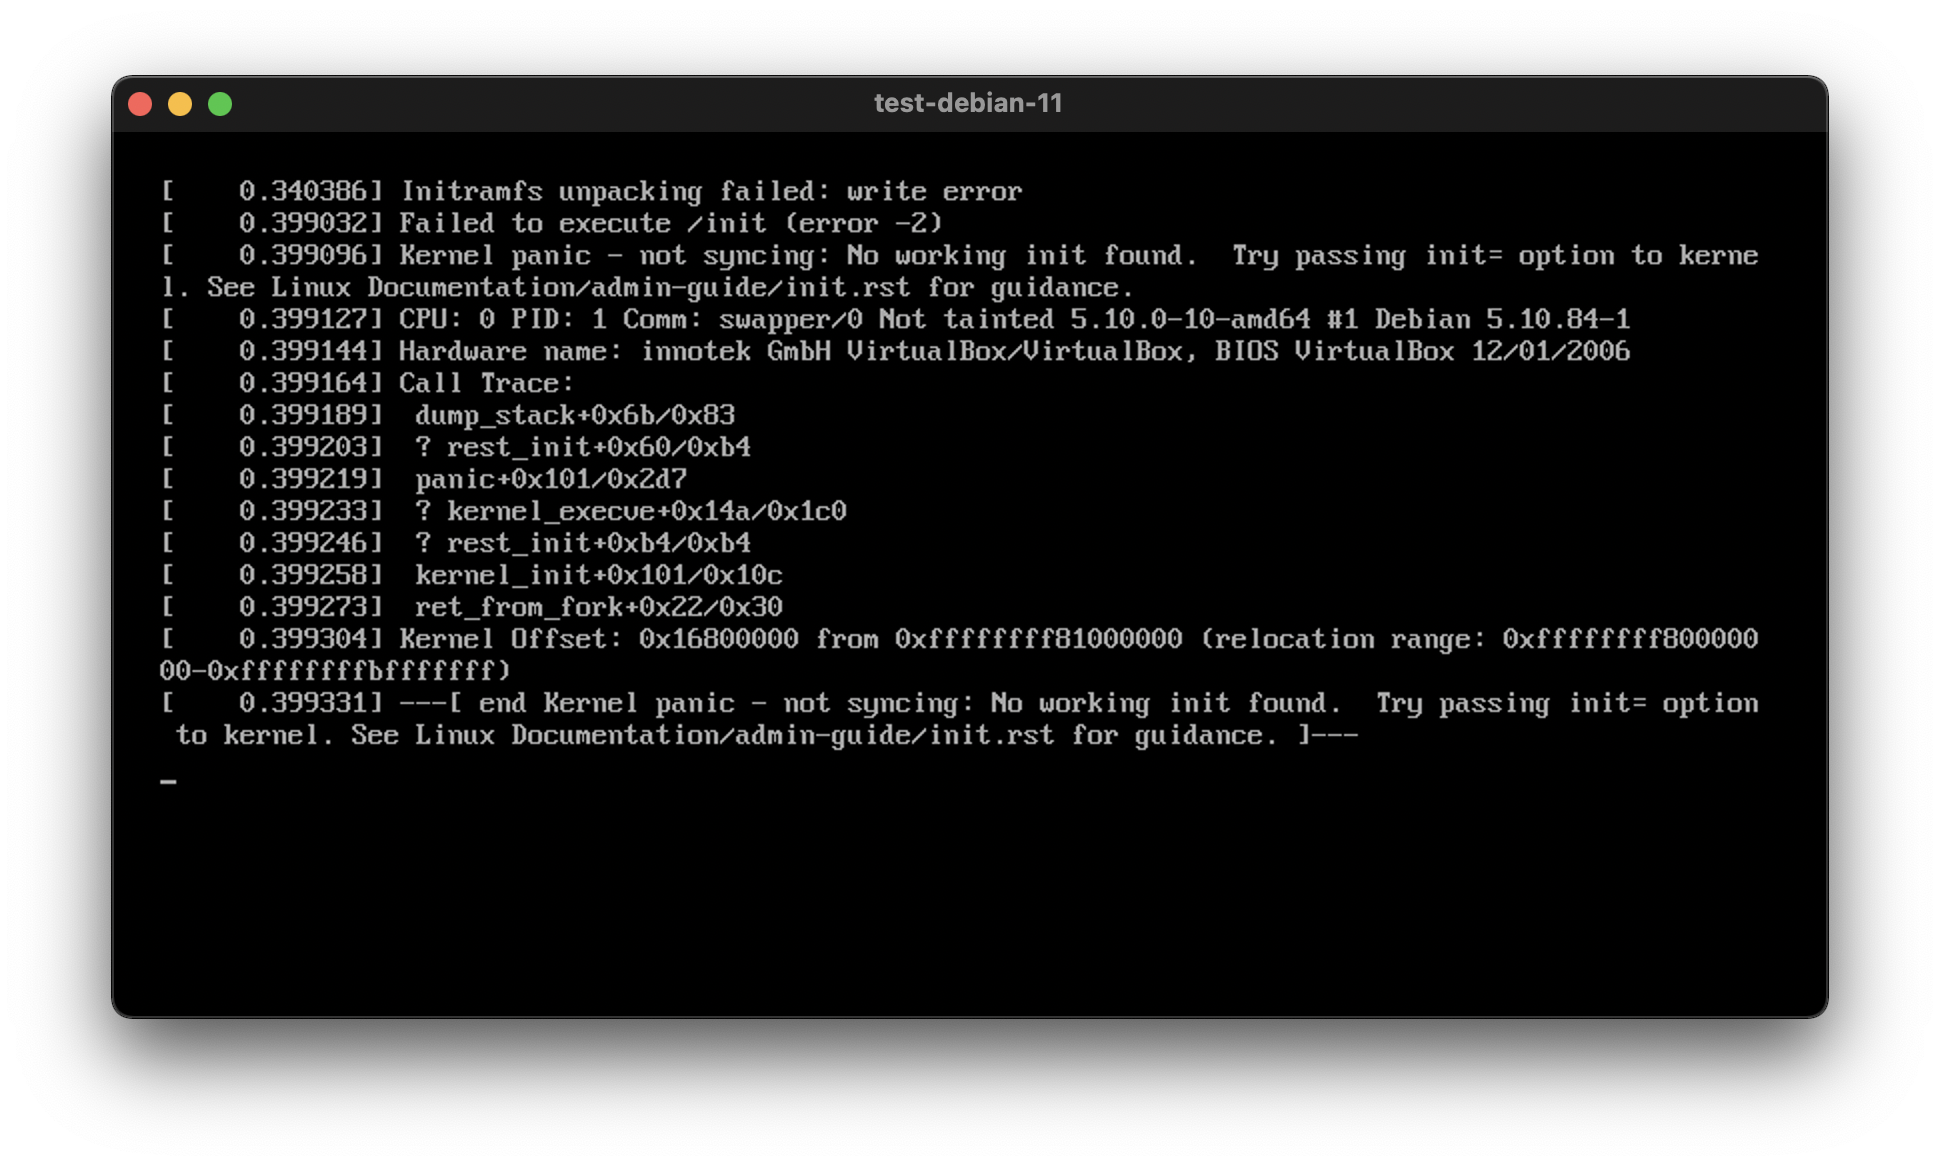
Останавливаем машину, даем ей больше ресурсов и запускаем
# vbm controlvm test-debian-11 poweroff
# vbm modifyvm test-debian-11 --cpus 4 --memory 4000
# vbm startvm test-debian-11 --type headless # не забываем про headless, иначе не запустится
И радуемся тому что больше нет kernel panic
Можно скачать готовый образ с https://www.osboxes.org и делать из него машины
Создаем машины
# vbm createvm --name pgsql-1 --ostype Debian_64 --register
Virtual machine 'pgsql-1' is created and registered.
UUID: ea1335c4-4afc-48da-8152-cd77289bec70
Settings file: '/root/virtualboxvms/pgsql-1/pgsql-1.vbox'
# vbm modifyvm pgsql-1 --cpus 4 --memory 4000
# vbm createvm --name pgsql-2 --ostype Debian_64 --register
# vbm createvm --name pgsql-3 --ostype Debian_64 --register
# vbm modifyvm pgsql-2 --cpus 4 --memory 4000
# vbm modifyvm pgsql-3 --cpus 4 --memory 4000

root@s1 ~/virtualboxvms # tree
.
├── debian-11.2.0-amd64-netinst.iso
├── debian-11-server.vdi
├── Oracle_VM_VirtualBox_Extension_Pack-6.1.28.vbox-extpack
├── pgsql-1
│   ├── pgsql-1.vbox
│   └── pgsql-1.vbox-prev
├── pgsql-2
│   ├── pgsql-2.vbox
│   └── pgsql-2.vbox-prev
└── pgsql-3
    ├── pgsql-3.vbox
    └── pgsql-3.vbox-prev
Добавляем sata
# vbm storagectl pgsql-1 --name sata-controller --add sata --controller IntelAHCI
# vbm storagectl pgsql-2 --name sata-controller --add sata --controller IntelAHCI
# vbm storagectl pgsql-3 --name sata-controller --add sata --controller IntelAHCI
Копируем VDI из скачанного с osboxes в диск для созданных машин
# cp debian-11-server.vdi pgsql-1/pgsql-1.vdi
# cp debian-11-server.vdi pgsql-2/pgsql-2.vdi
# cp debian-11-server.vdi pgsql-3/pgsql-3.vdi
Аттачим эти vdi к машинам
# vbm storageattach pgsql-1 --storagectl sata-controller --port 0 --device 0 --type hdd --medium /root/virtualboxvms/pgsql-1/pgsql-1.vdi
# vbm storageattach pgsql-2 --storagectl sata-controller --port 0 --device 0 --type hdd --medium /root/virtualboxvms/pgsql-2/pgsql-2.vdi
VBoxManage: error: Cannot register the hard disk '/root/virtualboxvms/pgsql-2/pgsql-2.vdi' {4e1934ce-f42f-489c-be67-12317fb24b80} because a hard disk '/root/virtualboxvms/pgsql-1/pgsql-1.vdi' with UUID {4e1934ce-f42f-489c-be67-12317fb24b80} already exists
VBoxManage: error: Details: code NS_ERROR_INVALID_ARG (0x80070057), component VirtualBoxWrap, interface IVirtualBox, callee nsISupports
VBoxManage: error: Context: "OpenMedium(Bstr(pszFilenameOrUuid).raw(), enmDevType, enmAccessMode, fForceNewUuidOnOpen, pMedium.asOutParam())" at line 187 of file VBoxManageDisk.cpp
VBoxManage: error: Invalid UUID or filename "/root/virtualboxvms/pgsql-2/pgsql-2.vdi"
И на второй машине получаем ошибку
Данная ошибка появляется в результате того, что мы скопировали файл образа диска виртуальной машины, а UUID остался прежним
Делаем вот так
# vbm internalcommands sethduuid pgsql-2/pgsql-2.vdi
UUID changed to: 088d52d2-323f-41e8-981e-9c2d1964943a
# vbm internalcommands sethduuid pgsql-3/pgsql-3.vdi
UUID changed to: 2c24c4a1-2c15-47b7-aae6-f3bea7f96457
И теперь аттачинг отрабатывает без ошибки
# vbm storageattach pgsql-2 --storagectl sata-controller --port 0 --device 0 --type hdd --medium /root/virtualboxvms/pgsql-2/pgsql-2.vdi
# vbm storageattach pgsql-3 --storagectl sata-controller --port 0 --device 0 --type hdd --medium /root/virtualboxvms/pgsql-3/pgsql-3.vdi
Аттачим машины к netnat
# vboxmanage natnetwork add --netname debian-network --network 10.0.5.0/24   --enable --dhcp on --ipv6 off
# vm stop pgsql-1
# vbm modifyvm pgsql-1 --nic2 natnetwork --nat-network2 debian-network
# vm stop pgsql-2
# vbm modifyvm pgsql-2 --nic2 natnetwork --nat-network2 debian-network
# vm stop pgsql-3
# vbm modifyvm pgsql-3 --nic2 natnetwork --nat-network2 debian-network
# vm start pgsql-1
# vm start pgsql-2
# vm start pgsql-3
Портфорвардинг
# vm stop pgsql-3
# vm stop pgsql-2
# vm stop pgsql-1
# vbm modifyvm pgsql-1 --natpf1 "ssh-forwarding,tcp,,22001,,22"
# vbm modifyvm pgsql-2 --natpf1 "ssh-forwarding,tcp,,22002,,22"
# vbm modifyvm pgsql-3 --natpf1 "ssh-forwarding,tcp,,22003,,22"
# vm start pgsql-1
# vm start pgsql-2
# vm start pgsql-3
VirtualBox User Manual
1. First Steps
1.1 Why is Virtualization Useful?
- Running multiple operating systems simultaneously
- Easier software installations
- Testing and disaster recovery
- Infrastructure consolidation
1.2 Some Terminology
- Host operating system (host OS) - This is the OS of the physical computer
- Guest operating system (guest OS) - This is the OS that is running inside the virtual machine
- Virtual machine (VM) - This is the special environment that Oracle VM VirtualBox creates for your guest OS while it is running. Internally, Oracle VM VirtualBox treats a VM as a set of parameters that specify its behavior. Some parameters describe hardware settings, such as the amount of memory and number of CPUs assigned
- Guest Additions - This refers to special software packages which are shipped with Oracle VM VirtualBox but designed to be installed inside a VM to improve performance of the guest OS and to add extra features
1.3 Features Overview
- Portability - runs on a large number of 64-bit host operating systems, VirtualBox is functionally identical on all of the host platforms, and the same file and image formats are used (you can create a virtual machine on Windows and then run it under Linux), In addition, virtual machines can easily be imported and exported using the Open Virtualization Format (OVF), an industry standard created for this purpose. You can even import OVFs that were created with a different virtualization software
- Guest Additions: shared folders, seamless windows, 3D virtualization - Guest Additions are software packages which can be installed inside of sup- ported guest systems to improve their performance and to provide additional integration and communication with the host system. After installing the Guest Additions, a virtual machine will support automatic adjustment of video resolutions, seamless windows, accel- erated 3D graphics and more
-
Great hardware support
- Guest multiprocessing (SMP)
- USB device support
- Hardware compatibility. VirtualBox virtualizes a vast array of virtual devices, among them many devices that are typically provided by other virtualization platforms. That includes IDE, SCSI, and SATA hard disk controllers, several virtual network cards and sound cards, virtual serial and parallel ports and an Input/Output Advanced Programmable Interrupt Controller (I/O APIC), which is found in many computer systems
- Full ACPI support
- Multiscreen resolutions
- Built-in iSCSI support
- PXE Network boot
- Multigeneration branched snapshots - VirtualBox can save arbitrary snapshots of the state of the virtual machine. You can go back in time and revert the virtual machine to any such snapshot and start an alternative VM configuration from there
- VM groups - In addition to basic groups, it is also possible for any VM to be in more than one group, and for groups to be nested in a hierarchy. This means you can have groups of groups. In general, the operations that can be performed on groups are the same as those that can be applied to individual VMs: Start, Pause, Reset, Close (Save state, Send Shutdown, Poweroff), Discard Saved State, Show in File System, Sort
- Clean architecture and unprecedented modularity - VirtualBox has an ex- tremely modular design with well-defined internal programming interfaces and a clean separation of client and server code
-
Remote machine display - The VirtualBox Remote Desktop Extension (VRDE) enables high-performance remote access to any running virtual machine (also support originaly MS RDP). The VRDE does not rely on the RDP server that is built into Microsoft Windows. Instead, the VRDE is plugged directly into the virtualization layer. As a result, it works with guest OSes other than Windows. Unique features:
- Extensible RDP authentication - already supports Winlogon on Windows and PAM on Linux for RDP authentication, and with SDK you can create arbitrary auth
- USB over RDP - enables you to connect arbitrary USB devices locally to a virtual machine which is running remotely
1.5 Installing Oracle VM VirtualBox and Extension Packs
On each host platform, Oracle VM VirtualBox uses the installation method that is most common and easy to use
VirtualBox is split into the following components:
- Base package - The base package consists of all open source components and is licensed under the GNU GPL V2
-
Extension packs - The extension pack provides the following added functionality:
- USB 2.0/3.0
- VRDP
- Host webcam passthrough
- Intel PXE boot ROM
- Disk image encryption with AES algorithm
1.8 Running Your Virtual Machine
To start a virtual machine, you have several options:
- Double-click on the VM’s entry in the list in the VirtualBox Manager window
- Select the VM’s entry in the list in the VirtualBox Manager window, and click Start at the top of the window
- Go to the VirtualBox VMs folder in your system user’s home directory. Find the subdirec- tory of the machine you want to start and double-click on the machine settings file. This file has a .vbox file extension
1.8.1 Starting a New VM for the First Time
When a VM is started for the first time, the First Start Wizard, is displayed. This wizard helps you to select an installation medium
The wizard helps you to select a medium to install an OS from:
- You can install OS from physical CD/DVD. For this put the media into host's CD drive and select Host Drive in Wizard drop down menu
- For install from downloaded ISO image do the same
1.8.2 Capturing and Releasing Keyboard and Mouse
VirtualBox provides a virtual USB tablet device to new virtual machines through which mouse events are communicated to the guest OS. If you are running a modern guest OS that can handle such devices, mouse support may work out of the box without the mouse being captured as described below
Otherwise, if the virtual machine detects only standard PS/2 mouse and keyboard devices, since the OS in the virtual machine does not know that it is not running on a real computer, it expects to have exclusive control over your keyboard and mouse. But unless you are running the VM in full screen mode, your VM needs to share keyboard and mouse with other applications and possibly other VMs on your host
After installing a guest OS and before you install the Guest Additions, described later, either your VM or the rest of your computer can “own” the keyboard and the mouse. Both cannot own the keyboard and mouse at the same time
You activate the VM by clicking inside it. To return ownership of keyboard and mouse to your host OS, VirtualBox reserves a special key on your keyboard: the Host key. By default, this is the right Ctrl key on your keyboard
As this behavior is inconvenient, Oracle VM VirtualBox provides a set of tools and device drivers for guest systems called the VirtualBox Guest Additions. These tools make VM keyboard and mouse operations much more seamless
1.8.3 Typing Special Characters
Some OSes expect certain key combinations to initiate certain procedures. The key combinations that you type into a VM might target the host OS, the Oracle VM VirtualBox software, or the guest OS. The recipient of these keypresses depends on a number of factors, including the key combination itself
- Host OSes reserve certain key combinations for themselves. For example, you cannot use the Ctrl+Alt+Delete combination to reboot the guest OS in your VM because this key combination is usually hard-wired into the host OS
On Linux and Oracle Solaris hosts, which use the X Window System, the key combination Ctrl+Alt+Backspace normally resets the X server and restarts the entire graphical user interface. As the X server intercepts this combination, pressing it will usually restart your host graphical user interface and kill all running programs, including Oracle VM VirtualBox, in the process
So, if you need key combinations in guest vm, use special key combinations with the Host key:-
Host key + DelsendsCtrl+Alt+Delto reboot the guest OS -
Host key + BackspacesendsCtrl+Alt+Backspaceto restart the graphical user interface of a Linux or Oracle Solaris guest -
Host key + Function key. For example, use this key combination to simulateCtrl+Alt+Fnto switch between virtual terminals in a Linux guest
-
- For some other keyboard combinations such as Alt+Tab to switch between open windows, Oracle VM VirtualBox enables you to configure whether these combinations will affect the host or the guest, if a virtual machine currently has the focus
1.8.4 Changing Removable Media
While a virtual machine is running, you can change removable media in the Devices menu of the VM’s window
The settings are the same as those available for the VM in the Settings dialog of the VirtualBox main window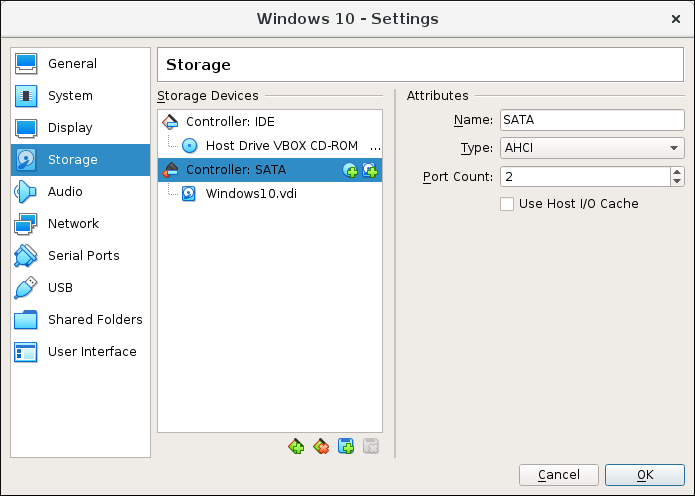
But as the Settings dialog is disabled while the VM is in the Running or Saved state, the Devices menu saves you from having to shut down and restart the VM every time you want to change media
1.8.5 Resizing the Machine’s Window
- If you have scaled mode enabled, then the virtual machine’s screen will be scaled to the size of the window (VM's screen size will be expand or reduce to the size of the VM's window). For switch to Scaled mode press
Host key + C - If you have the Guest Additions installed and they support automatic resizing, the Guest Additions will automatically adjust the screen resolution of the guest OS. This is not simple screen scaling, but VM seriously take display device as device with resolution same VM's window resolution
- Otherwise, if the window is bigger than the VM’s screen, the screen will be centered. If it is smaller, then scroll bars will be added to the machine window
1.8.6 Saving the State of the Machine
When you close VM's window, VirtualBox asks you whether you want to save or power off the VM
- Save the machine state - With this option, Oracle VM VirtualBox freezes the virtual ma- chine by completely saving its state to your local disk. Its like suspending a laptop by closing its lid
- Send the shutdown signal - This will send an ACPI shutdown signal to the virtual machine, which has the same effect as if you had pressed the power button on a real computer. This should trigger a proper shutdown mechanism from within the VM
- Power off the machine - With this option, Oracle VM VirtualBox also stops running the virtual machine, but without saving its state
1.9 Using VM Groups
-
Create a group using the VirtualBox Manager:
- Drag one VM on top of another VM
- Select multiple VMs and select Group from the right-click menu
-
Create and manage a group using the command line:
- Create a group and assign a VM -
VBoxManage modifyvm "vm01" --groups "/TestGroup"
This command creates a group “TestGroup” and attaches the VM “vm01” to that group - Detach a VM from the group, and delete the group if empty
VBoxManage modifyvm "vm01" --groups ""
This command detaches all groups from the VM “vm01” and deletes the empty group
- Create a group and assign a VM -
-
Create multiple groups
VBoxManage modifyvm "vm01" --groups "/TestGroup,/TestGroup2"
This command creates the groups “TestGroup” and “TestGroup2”, if they do not exist, and attaches the VM “vm01” to both of them -
Create nested groups, having a group hierarchy
VBoxManage modifyvm "vm01" --groups "/TestGroup/TestGroup2"
This command attaches the VM “vm01” to the subgroup “TestGroup2” of the “TestGroup” group -
The following is a summary of group commands: Start, Pause, Reset, Close (save state, send shutdown signal, poweroff), Discard Saved State, Show in File System, Sort
1.10 Snapshots
With snapshots, you can save a particular state of a virtual machine for later use. A snapshot of a virtual machine is thus similar to a machine in Saved state, but there can be many of them, and these saved states are preserved
1.10.1 Taking, Restoring, and Deleting Snapshots
- Take a snapshot. This makes a copy of the machine’s current state, to which you can go back at any given time later
The current state of your VM is a variation based on the snapshot you took earlier
If you later take another snapshot, you will see that they are displayed in sequence, and that each subsequent snapshot is derived from an earlier one
- Restore a snapshot. In the list of snapshots, right-click on any snapshot you have taken and select Restore. By restoring a snapshot, you go back or forward in time. The current state of the machine is lost, and the machine is restored to the exact state it was in when the snapshot was taken
To avoid losing the current state when restoring a snapshot, you can create a new snapshot before the restore operation - Delete a snapshot. This does not affect the state of the virtual machine, but only releases the files on disk that Oracle VM VirtualBox used to store the snapshot data, thus freeing disk space
Since snapshots form a sequence, two cases are possible:
- Deleting the "Snapshot 1" will merge it with "Snapshot 8" and only "Snapshot 8" will remain
- Deleting the "Linked Base for test and test Clone 2" will end with an error, because this snapshot has more than one child snapshots and in this case it is not clear how to merge them

1.10.2 Snapshot Contents
A snapshot consists of the following:
- The snapshot contains a complete copy of the VM settings, including the hardware con- figuration, so that when you restore a snapshot, the VM settings are restored as well
- The complete state of all the virtual disks attached to the machine is preserved. Going back to a snapshot means that all changes that had been made to the machine’s disks, file by file and bit by bit, will be undone as well. Strictly speaking, this is only true for virtual hard disks in “normal” mode. You can configure disks to behave differently with snapshots and when a snapshot is taken, VirtualBox creates differencing images which contain only the changes since the snapshot were taken
- If you took a snapshot while the machine was running, the memory state of the machine is also saved in the snapshot. The memory state file can be as large as the memory size of the VM and will therefore occupy considerable disk space